Flash Rotating Images (Header)
The Rotating Images Header gets images from Page Content, loads them into the file and either rotates through them in order, only shows the first image in the list, or only shows one random image in the list. The template file in the /artserv/ITWebProduction/ folder called header_basic.fla.
We will now address how to update the header_basic.fla file.
Create the No_Flash Image
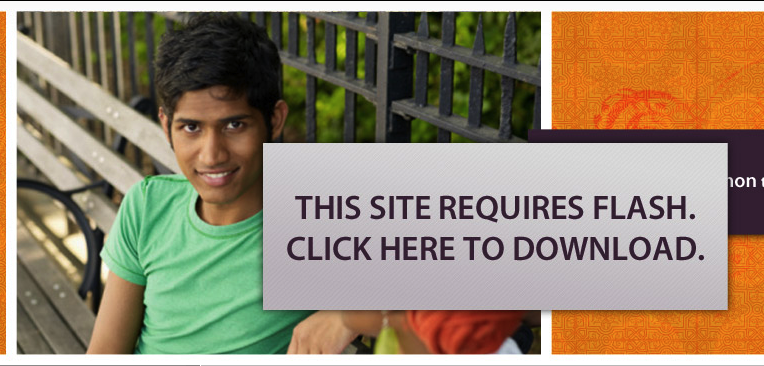
There is a default image that shows up in place of the flash file if the user does not have the latest version of flash installed. This image is simply a jpg of the exact dimensions of our flash file with a message that says, "This Site Requires Flash. Click Here To Download." The message psd file is in the ITWebProduction folder on artserv and should be laid over a jpg file cut of the default flash area from the original final psd concept. The final image should look something like this:
Export the Flash Background Image
Hopefully by now you have already created the flash background from the photoshop concept. If you have not, then you need to do that before continuing. Cut the image with a transparent background (if there is a drop shadow for instance) and save for web as a png-24 file. If there is no transparency needed you may save as a web jpg.
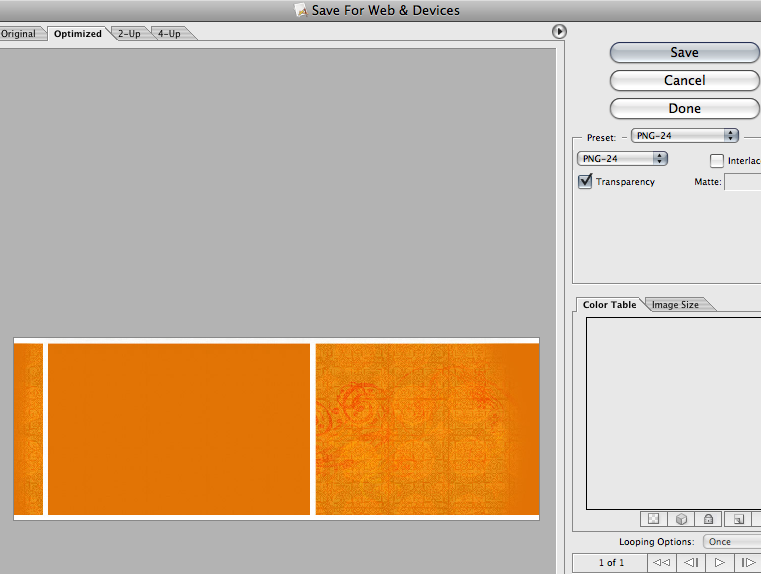
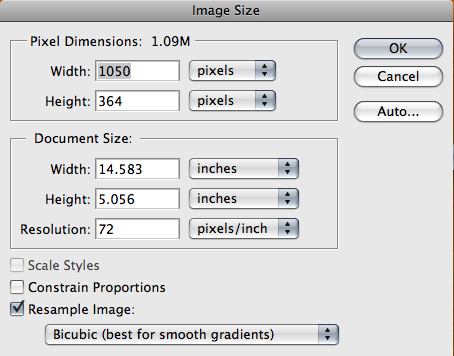
Make sure to write down the dimensions of the background - you will need that when its time to go into flash.
Importing into Flash
Now go to: Artserv > ITWeb Production > Flash Templates
open up header_basic.fla
What we need to do first is delete the current background. Do this by clicking on it on the stage and hitting delete. Next we need import the background we made in photoshop in it's place by going to File > Import > To Stage.
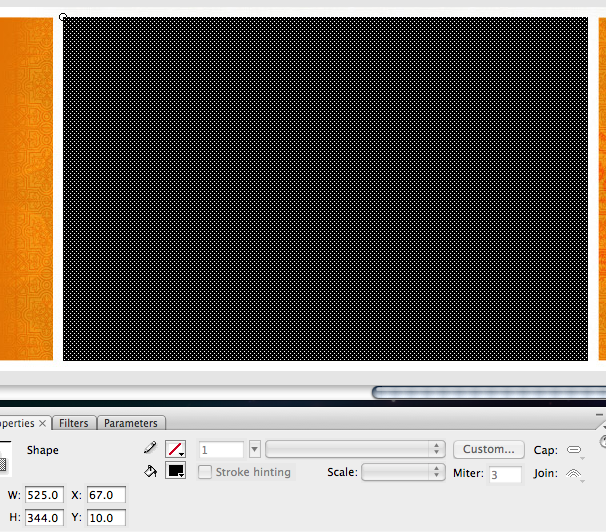
Remember where we needed to know what size the backgorund was? We will re-size the stage by clicking anywhere on the stage where there is not an object, then click on size in the properties bar at the bottom of the screen and modifying them there.

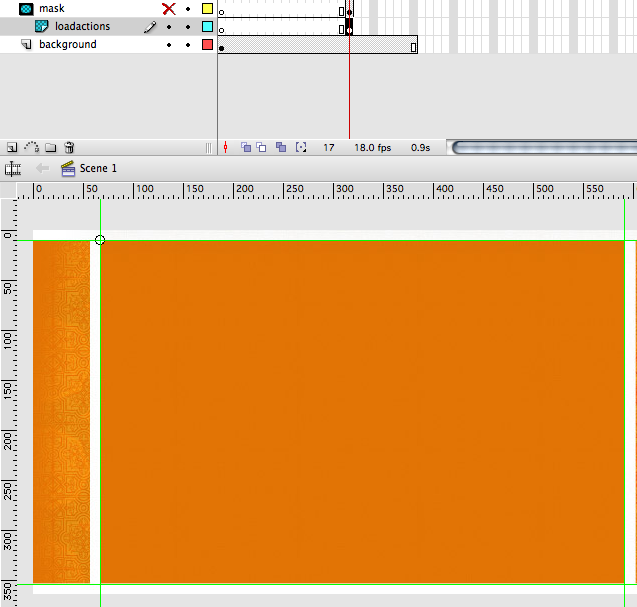
After you select the image, import it and resize the stage, we need to make sure it's centered. In the menu, go to Window > Align. This should bring up your align panel. Select your background image on the stage, click the "To Stage" button in the align panel, and then click the Align Horizontal Center button (first row, 2nd button from left) and the Align Vertical Center button (first row, 5th button from left).
Resizing and Positioning The Mask and Loadaction
On the main timeline, there is a mask layer that contains a black box. This box masks the loadaction (action_sequential) movie clip where our images are loaded. Only the objects behind the mask is in this loadaction movie clip are seen. Anything outside of the mask is hidden. So, this makes sure that any images loaded only show up in the image area designated by us. We just need to resize and move the mask to be over the whole image area. Click on the black rectangle (our mask) on the main stage.
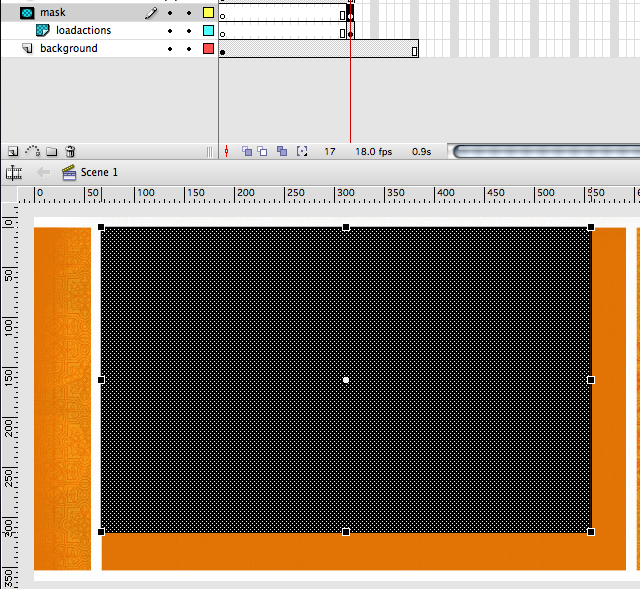
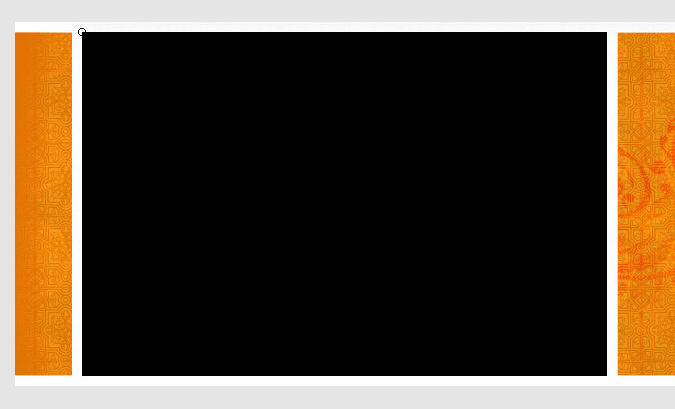
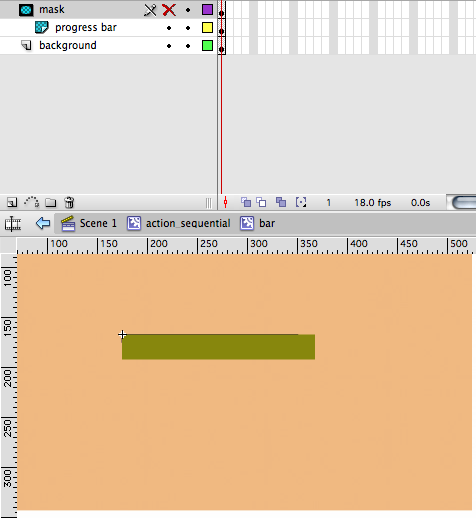
Position the top left corner to the exact top left corner of where we want our images to load. You may need to zoom in all the way (2000%) to make sure you are in the right spot. Then using the free transform tool , resize the mask to fit the entire image area. Your final result should look similar to this:
The images will all be loaded into a movie clip called "loadaction" (action_sequential). Now that we have our mask in place, we need to move this movie clip to the top left point of where our image area is as well.
Click on the mask again on the stage and look at it's properties window at the bottom of the screen. Make a note of the X and Y position of this mask shape.
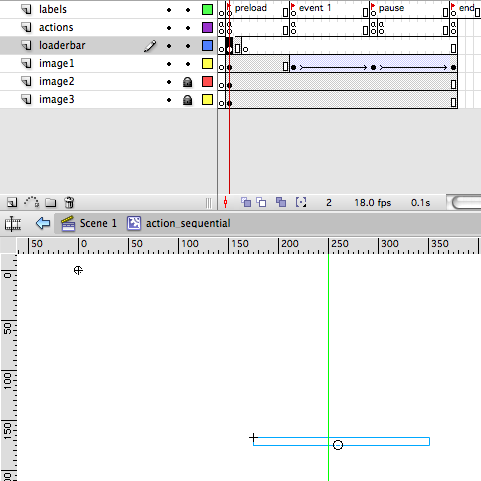
Click on the first frame that has content of your loadactions layer, This is your loadaction movie clip. Now you need to move it to the top left of where your image needs to load. Because the loadaction movie clip is empty and very small, it will be really hard to click on. The easiest way to do this is while you have the keyframe selected, hover your mouse over the stage and just scroll a little with your mouse's scroll wheel. This should bring up the properties panel for the movie clip at the bottom of the screen. You can then manually input the same X and Y coordinates from the mask to this loadaction movie clip. This will be sure that they are exactly the same. After you get it in place, it should look like this:
Positioning and Styling the Progress Bar
So we have the counter box colors set up, now we want to make sure that any pictures that load in this flash box only load where we want them to and not over the entire background.
In order to do this, we need to modify the mask, which controls the dimensions of the images that show up.
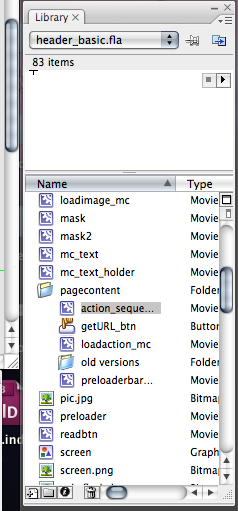
To modify the mask's dimensions, we need to load the mask layer. We can do this by going to the layers on the bottom right in flash and double-clicking on action-sequential.
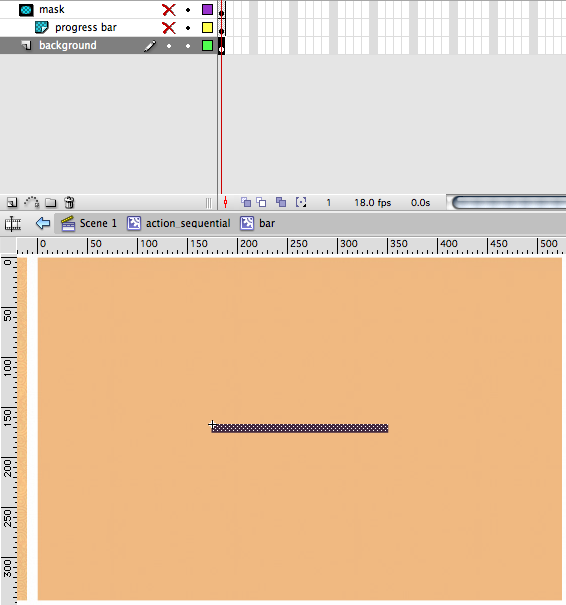
Now you should be at the action sequential movie clip which loads into the loadactions layer of the root timeline. It looks like this:
The blue rectangle is the loader progress bar. The image is loaded dynamically to the 0,0 point of this movie clip and this is then masked by the mask layer we will be editing later on the root stage. We will get to making adjustments to that later.
To make sure the loader bar is in the center of our image area, we simply can drag the background image we imported earlier into a new layer (put the new background layer at the very bottom).
From here you can position the loader bar in the center of where your image area is by clicking on the first keyframe with content in the loaderbar layer of our timeline. then click on the blue outlined box and move it to the proper position:

Once you have this positioned, double click on the blue outline and it will bring you to the "bar" movie clip. Here, you can change the colors of all the elements. The progress bar layer is masked by the mask layer and moves across the background layer as the loading progresses.
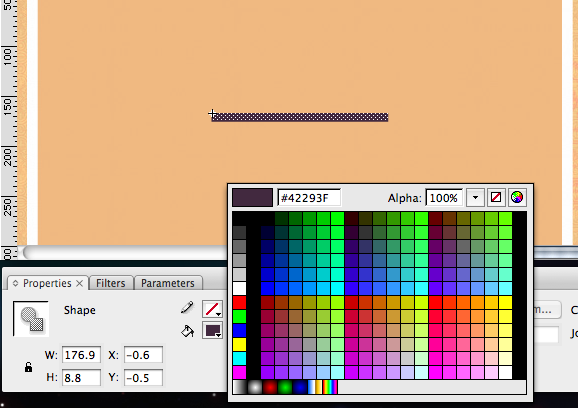
We need to change the color of the progress bar and the background to match our site. First, double click on the progress bar on the stage and it should bring into the "tween 1" movie clip.
From here you can adjust the color of the rectangle that will be the progress bar.

Go back to the "bar" movie clip by clicking on "bar" underneath the timeline. Hide the progress bar layer by clicking the dot in the eye column of that layer to make a red "X". Now only the background layer should be showing on the stage:
Then, click on the background rectangle on the stage and choose an appropriate color for the background of the progress bar movie clip.
Now you are done in the action_sequential movie clip. Go back to the main stage by clicking on "Scene 1" under the timeline.
Testing Your Work
First, do a save as into your project's HTML folder within a new folder called Flash if it doesn't already exist. Also within this folder, copy 1475.xml (for testing purposes only) and XMLtoObject.as (needed for exporting—this is used to parse the xml file properly) from the Flash Templates folder.
Then in your flash file. You can do the keyboard shortcut: command + return, or select Control > Test Movie from the menu.
Make sure your images and mask are all showing up properly with the right spacing, and rotating well.
Pubishing Your Work
So now were just about done in flash. All we need to do now is publish what we have done. We do this by going to: File > Publish. Your file will be outputted wherever you originally opened/saved your flash file.
Upload the file to the images/layouts folder of the site.
Since the file calls from page content we need to add this to our layout file and add it to our page content config file.
First add this node to the _default_#pageID#.xml file in the config > xml >pagecontent folder:
<content name="Rotating Images" action="sequential,random,static" flashfile="header_basic.swf" count="dyn" mincount="2" maxcount="10" type="image" />
Obviously replace #pageID# and "header_basic.swf" with the proper file names. Then make note of what number content region in the list of nodes you inserted this.
Upload the config folder to the server and then go to the site and save page content for your event box. You may need to do this twice since it may only give you the option to do one event at the start. If that is the case, just save it once then go back in and add a "New Rotating Images" image and resave. You need at least 2 events for it to function properly.
Next, add this line in your layout file as the div where you are placing your flash file:
<div id="flash">
<div id="flashDiv">
<a href="http://www.macromedia.com/go/getflash/"><img src="images/layouts/no_flash.jpg" alt="This site requires flash" border="0" /></a>
</div>
<cfoutput>
<script type="text/javascript">
// <![CDATA[
var flashvars = {xmlFile:"#regionXmlLocation_1#", xmlNode: "#regionXmlNode_1#"};
var params = {quality: "high", wmode: "transparent"};
var attributes = {};
swfobject.embedSWF("/images/layouts/#regionFlashFile_1#", "flashDiv", "412", "218", "9.0.0", "/includes/flashdetect2/expressInstall.swf", flashvars, params, attributes);
// ]]>
</script>
</cfoutput>
</div>
Replace the div id's with your own if needed, input the proper dimensions (width and height) to the red areas, and add your no_flash.jpg image within the images/layouts/ folder. Then change the three "#regionXmlLocation_1# numbers to the numbered node you placed the previous line in your configuration xml file (i.e. if it's first in the list is should stay as 1, if it's second, change it to 2, etc.). Upload your layout file and you should be good to go.
subpages
- Auto Display Page Title
- Blog
- CSS Animations
- Drop Down Menu
- Email Subscription
- Google Fonts
- Google Maps API
- Header Videos
- Instagram Feed
- Layout Override
- On-Page Nav Scrolling
- Onecast / Latest Sermon
- Page Content
- Page Content Edit Buttons
- Parallax Scrolling
- Per Page SEO
- Permalink Conversion
- Popup Box
- Rotator / Event Box
- Sidebar Pop-out
- Site Search
- Slider
- Social Media Icons
- Split Navigation
- Staff Module
- Subpage Module
- TinyMCE Content Editor
- Twitter Feed
- Deprecated Add Ons